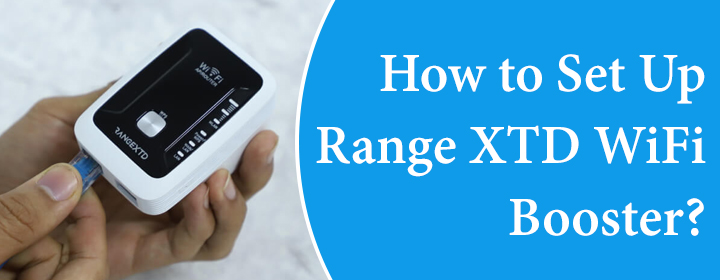
How to Set Up Range XTD WiFi Booster?
A Range XTD WiFi booster can be installed in Repeater, Access Point, or Router mode depending upon your network preferences. However, the most commonly used mode is the Repeater mode. Through this blog, we will help you understand how to set up Range XTD WiFi booster as a repeater.
Steps to Set Up Range XTD WiFi Booster
You can set up a Range XTD WiFi booster using two different methods when you are looking for the Repeater mode. The first method is the WPS method – pressing the WPS button on the router and repeater within a specified time frame (generally 2 minutes). The second method is the manual method and the instructions for the same are mentioned below:
- Write down the WiFi SSID as well as the password of your main router.
- Ensure that your Range XTD booster is running on the factory settings.
- Thus, reset it by pressing and holding the Reset button for a few seconds.
- Now, place your WiFi booster in the same room where your host router is placed.
- Restart the router.
- Plug in the Range XTD booster and power it up now.
- When the booster lights become stable, you should open WiFi Manager on your PC.
- There, locate and connect to the WiFi network named – RangeXTD.
- It does not have any WiFi password.
- Open an internet browser now and input the IP address – 192.168.7.234.
- The IP must be inputted into the address bar only.
- Press the Enter key to reach the RangeXTD login page.
- Enter the default password – admin (in lowercase).
- You will be prompted to assign a new password to the booster at the same time.
- The next window will scan for the network to be extended.
- There, find the WiFi name of the router and click it.
- When prompted, input the correct WiFi password.
- Click Connect.
This completes the Range XTD WiFi booster setup in the Repeater mode. Know that the WiFi network of the booster will have the same WiFi password as the router. However, it will come into effect when you restart the booster.
Range XTD Booster Setup in AP Mode: When you want to set up the Range XTD booster in the AP mode, you will have to connect it to the router using an Ethernet cable and access its IP address on a PC. Thereafter, follow the instructions appearing on the screen for the rest of the setup process.
How to Login to Range XTD Booster?
After the setup process, it is important that you login to the booster and manage the network settings. Here’s how you can login to the WiFi booster:
- Connect your PC or mobile to the WiFi booster network.
- Open a web browser and access the default IP – 192.168.7.234.
- When the login page opens up, enter the admin password you gave the booster during setup.
- Click Login.
- Manage the network settings through the wizard.
The Final Thoughts
Our guide explaining how to set up Range XTD WiFi booster ends here. Here, we explained two modes in which you can install the booster. Apart from this, you also got to learn how to login to the booster. However, when it comes to the Router mode, you can use it with a modem only. The setup process will be guided by the local interface when you log in using the default IP of the booster.

