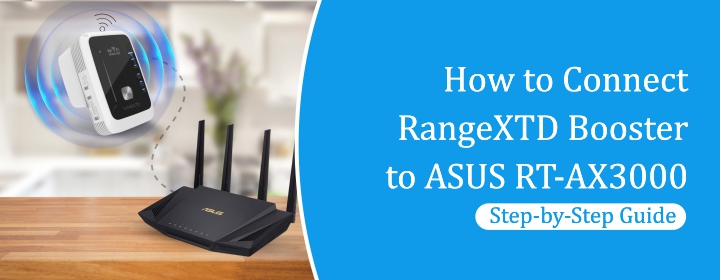
How to Connect RangeXTD Booster to ASUS RT-AX3000: Step-by-Step Guide
It is not so easy for a router to provide Internet to every corner if you live in a big house. If you are facing this type of problem with your ASUS RT – AX3000, then you need to use the Range XTD booster with your router. This guide will help you connect the RangeXTD booster to your router. Follow the steps and extend your home network. Let’s start:
Things that You Need Before Setup
Before we start, make sure you have the following:- Your ASUS RT-AX3000 router
- A RangeXTD WiFi booster (plugged in)
- A Smartphone, tablet, or laptop with Wi-Fi
- Access to the RangeXTD setup page (via IP address 192.168.7.234)
Step 1: Plug in the RangeXTD Booster
- Find a power outlet near your ASUS router.
- Plug your RangeXTD booster into the outlet.
- Wait about 1-2 minutes for the booster to power up.
- The LED indicator will begin to blink, showing it’s ready for setup.
Step 2: Connect to the RangeXTD Network
- On your phone, tablet, or laptop, go to your Wi-Fi settings.
- Look for a network called something like “RangeXTD-Setup”.
- Tap to connect to this network.
- There may be no internet access during this step, that’s okay.
Step 3: Access the Setup Page (192.168.7.234)
- Open a web browser (like Chrome, Safari, or Edge).
- In the address bar, type 192.168.7.234 and press Enter.
- This will take you to the RangeXTD configuration page.
- If prompted, enter the default login credentials (usually admin for both username and password).
Step 4: Set RangeXTD to Repeater Mode
- Once logged in, you will see different setup options.
- Choose Repeater Mode (sometimes listed as “Wi-Fi Repeater”).
- The device will scan for available Wi-Fi networks.
- Wait for the list of nearby Wi-Fi signals to load.
Step 5: Connect to ASUS RT-AX3000 Router
- From the list, select your ASUS RT-AX3000 Wi-Fi network.
- Enter the password for your ASUS router (the same one you use to connect other devices).
- You can either keep the same network name (SSID) or set a different one for the booster.
- Click Connect or Save Settings.
Step 6: Reconnect to Your Network
- Once the RangeXTD has finished setting up, the LED will stop blinking and stay solid.
- Go back to your device’s Wi-Fi settings.
- You’ll now see a new network either with the same name as your router or something like YourNetwork_EXT.
- Connect to this network using the same password as your main router (unless you changed it during setup).
Step 7: Test the Connection
- Open a browser or app to confirm you’re online.
- Move to the area that previously had a weak signal.
- Check if your Wi-Fi strength has improved.
- You can also run a speed test to see the difference.
Troubleshooting Common Issues
If you can’t able to connect to 192.168.7.234, then you need to take some troubleshooting tips given below:- Make sure you’re connected to the “RangeXTD-Setup” Wi-Fi network.
- Double-check the IP address is entered correctly in the browser.
- Try using a different browser or device.
Forgot the password?
- Reset the booster using the small reset button and start the setup again.
Signal is still weak?
- Try placing the booster closer to the router.
- Make sure it’s not blocked by furniture or walls.
Final Thoughts
Hope you connected your RangeXTD booster to your ASUS RT – AX3000 router. It can be so easy if you are using the correct guide like ours. If you have any issues during the setup booster with the router, then follow the troubleshooting tips that we shared above. You can also speak with our customer support for more help.FAQs
Will the RangeXTD Booster work with all routers?
Yes you can use the RangeXTD booster with any brand’s router. Follow the proper instruction to connect the booster to the router.
Can I use the RangeXTD Booster with a wired connection?
The RangeXTD is primarily designed to extend your wireless network. However, some models might allow for wired connections (Ethernet) for more stable performance, but this depends on the specific version of your RangeXTD booster.
How do I know if the RangeXTD Booster is working?
Once connected the RangeXTD will display a stable or solid LED light, usually green or blue, signifying a successful connection. A flashing LED indicates that the connection is not yet formed. You should also get better WiFi connectivity in locations that before had low coverage.