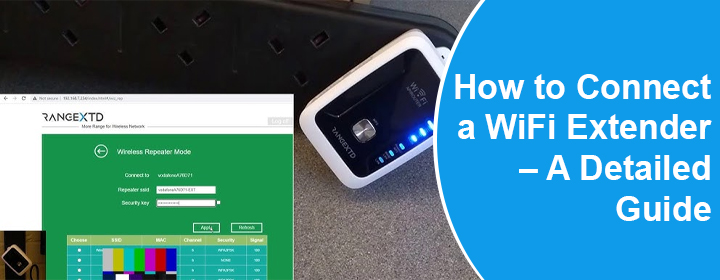
How to Connect a WiFi Extender – A Detailed Guide
Connecting a WiFi extender to the home network generally seems a big deal. Users often complain that they have failed setting up their range extenders. If you too are also wondering how to connect a WiFi extender in a safe manner, this is the guide you need. Here, you will become familiar with the steps to follow in order to add a range extender to the home network.
Things You Need to Connect a WiFi Extender?
Prior to starting the explanation of connecting the range extender, you must know what the requirements to do so are. Here are the prerequisites that you need to remember before connecting the range extender. For easier understanding, we are explaining everything in regards with the RangeXTD WiFi extender.
1. Reset the Extender
Firstly, ensure that your extender is working on the default settings. For your information, you cannot connect an already configured extender to the home network. Moreover, you will end up facing some issues if you proceed without resetting the extender. Thus, a factory default reset is necessary.
2. Note Down the Factory Defaults
Gather the default values (admin password, IP address, WiFi SSID, and password) of the range extender. This will help you complete the connection process effortlessly. The default IP of the RangeXTD extender is 192.168.7.234 and its login password is admin. Its SSID is RangeXTD and it does not have any WiFi password by default.
3. Find the Router’s WiFi Password
You will also need the WiFi password of the main router to connect the WiFi extender. Know that the extender performs exceptionally well when connected to a router. Connecting it directly to a modem will require you using it in the AP mode that will turn it into a kind of a router. Thus, be sure that you have a WiFi router before the extender. In addition to that, write down the WiFi password of router. You’ll need that during connection.
How to Connect WiFi Extender?
Now that you have gained enough knowledge about the prerequisites of connecting the RangeXTD range extender, it is time to delve into the actual process.
1. Plug in and Power Up
Connect the extender to a power outlet that is in the same room as the router. Power cycling the router is recommended now. Once done, you should switch on the range extender and let its power light settle.
2. Connect to RangeXTD WiFi
The next step in line is to make your computer access the WiFi network of your RangeXTD WiFi range extender. To do that, open network settings of the extender and join the network using no WiFi password.
3. Access the Local Interface
Now, comes the crucial part of the process. Open a web browser, go to the address field, and type the RangeXTD IP there. Hitting the Enter key will open the RangeXTD login portal for you. There, key in the value “admin” (in lowercases) into the given fields. Click Login or press Enter.
4. Connect WiFi Extender
The final and the last part of the process will require you selecting the SSID, also known as WiFi name, of your router and entering its WiFi password. Once you click Apply, your extender will get connected and start amplifying the router’s signals. The WiFi password of the extender will be as same as the main router. Connect your devices to the network using the router password.
Note: This must be known to you that after logging in, you will be prompted to choose AP/Repeater/Router mode. If you are connecting the extender to router, choose Repeater. Else, select AP or Router.
The Final Words
With that, we are now about to put a full stop to the post that explained how to connect WiFi extender in a detailed manner. Hopefully, the step-by-step instructions provided here will assist you with the extender connection process. So, you can start accessing the internet in dead zones too!