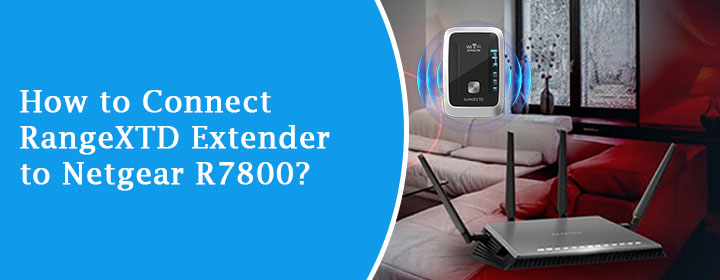
How to Connect RangeXTD Extender to Netgear R7800?
This Guide will walk you through the steps to connect RangeXTD WiFi extender to Netgear R7800 router using WPS & Manual Method. Expand your WiFi network in no time with provided instructions and helpful tips. RangeXTD WiFi booster enhances your wireless network coverage and performance. So let’s setup your Range WiFi Extender without wasting time
Two Methods to Connect Extender to Router
Connect RangeXTD extender to Netgear R7800 router using these 2 easy methods. After connecting the extender to the router, configure it using the web interface.
Way1: Connect Via WPS Button
Use this method to connect your extender to the router just by pressing a button. See the WPS button on the back side of both the router and extender and follow these steps:
- Keep the extender in the same place as the router.
- Plug it into the power socket.
- Hit the router’s WPS button first.
- After 10-20 seconds press the extender’s WPS button.
- Wait until the extender’s power light does not stop blinking.
Way2: Connect via Ethernet Cable
In some cases, the router does not support the WPS button. In that case, you need to use the Ethernet cable to connect RangeXTD to the Netgear R7800 router. Steps are:
- Plug the extender at a place between the router and where you have slow internet.
- Attach one side of the Ethernet cable to the router’ yellow internet port.
- Connect the other side to the extender’s LAN port.
- Turn on the RangeXTD extender.
- After that configure the extender using web interface.
With these two methods you can easily connect RangeXTD to Netgear R7800 router. Follow the further section to configure the extender.
Configuration
Configuration is the most important step when you are setting up an extender or any other WiFi device. To configure the RangeXTD use the steps given below:
- Open a web browser on a device connected to the extender.
- To connect with an extender, use an Ethernet cable or default network name.
- Type IP address 192.168.7.234 into the address bar.
- Press Enter and a login page will appear.
- Fill in the default login username and password in the given fields.
- Press the Login button and jump to the web interface.
Once you successfully access the web interface of the RangeXTD WiFi booster, manage settings of the range extender.
Troubleshooting Tips
It is very common to face problems while setting up the RangeXTD router. There can be many issues behind these problems. To solve them, one has to resort to troubleshooting tips. If you are also facing problems during setup, try the below troubleshooting tips.
- First main tip, make sure your extender gets proper power.
- Check if extender is connected to the router properly.
- Ensure all the power and network cables are in good condition.
- Restart the extender and connect again to the router.
- Always open the web interface on an updated web browser.
- Use the correct Login credentials to access the web interface.
- Reset your extender and reconfigure it with the correct setup instructions given above.
These tips may prove to be life-saving during the Range WiFi repeater setup at home. If your problem is still not solved – even after following above tips, then connect with our experts for complete technical assistance.
Conclusion
Setting up your RangeXTD WiFi extender with your Netgear router is an easy process when you properly follow the methods and configuration steps above. With proper installation and configuration, your RangeXTD WiFi booster can effectively improve your internet performance, ensuring consistent connectivity throughout your home.
FAQs
1. Will RangeXTD WIFI Repeater be compatible with my router?
You can connect the Range XTD WiFi repeater with any router. Just use the correct setup instructions to set up or log in.
2. Can I use it outdoors?
Yes you can use the RangeXTD outside the house, just place the extender within the range of the main router.
3. Can I connect the Range XTD to any router?
You can connect the Range XTD WiFi repeater with any router. Just use the correct setup instructions to setup or login.
