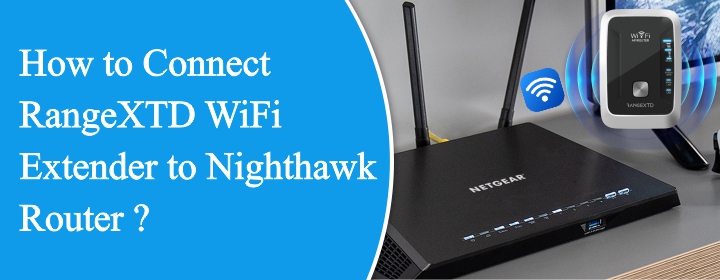
How to Connect RangeXTD WiFi Extender to Nighthawk Router?
The RangeXTD WiFi booster is a device which is designed to extend the range of your existing WiFi network by rebroadcasting the signal from your main router which is the Nighthawk router. Before we Connect RangeXTD WiFi Extender to Nighthawk Router. let’s understand the nighthawk router.
What is a Nighthawk Router?
The Nighthawk router is a product line of netgear to provide high-performance WiFi, designed for users with high internet usage. Key Features and Functions:
- Powerful Performance: It has advanced processors and antennas for faster speeds and more robust connections.
- Range and Coverage: It has a feature like Beam forming plus to focus the WiFi signal toward connected devices.
- Smart Features: It can be access by the app for easy network management, parental controls, and security settings.
- Compatibility: It can works with a variety of devices because of its WiFi 6 technology.
This combination is ideal for large homes or spaces with challenging layouts where a single router cannot cover the entire area effectively. Now, let’s move forward and connect RangeXTD WiFi booster to Nighthawk router.
Steps to Connect RangeXTD Wi-Fi Booster to Nighthawk Router
Follow these steps one-by-one to connect extender to the router:
Step 1: Plug in and Power up Your RangeXTD
Attach your Nighthawk router to a power outlet and plug in the RangeXTD WiFi extender. Await the extender’s power light to stable, signifying that it is prepared for configuration.
Step 2: Connect Your Device to RangeXTD Network
To find available WiFi networks, use your laptop, tablet, or smartphone. Seek out the network name linked to the RangeXTD, which is frequently named as RangeXTD. Join the RangeXTD wireless network. This initial setup may not require a password.
Step 3: AccessRangeXTD Setup Interface
Launch a web browser on a connected device. Enter 192.168.7.234 in the field box and hit Enter. You have now arrived at the setup page for the RangeXTD login. To log in, you must provide the default username and password. For default credentials, check the user manual or the booster label.
Step 4: Set Up RangeXTD in Repeater Mode
Click on Repeater Mode after logging in. The extender will look for WiFi networks that are available. Choose the existing router SSID from the list of available networks and enter the password for your Nighthawk router and click on ‘Connect’. Wait for the RangeXTD to restart after saving the settings.
Step 5: Reposition RangeXTD Extender
Once the setup is complete, disconnect the RangeXTD and place it halfway between your Nighthawk router and the area you need more coverage. For best results, make sure the new location is still within the Nighthawk router’s signal range.
Step 6: Verify Connection
To make sure the RangeXTD is getting a strong signal from the Nighthawk router, check the signal indicators. To test internet availability and speed in the expanded area, connect a device to the network.
Conclusion
In conclusion, your internet connection originates from the Nighthawk router, and the RangeXTD makes sure that the connection reaches every area of your home. You can easily Connect RangeXTD WiFi Extender to Nighthawk Router in few easy steps.
